I love all forms of sketchbooks and notebooks and wish I could use them up quicker so that I could have more of them.
I made 3 blank booklets to start with. The first is made from brown paper scrunched up several times and then coated in gesso. This has made a very floppy page that has a cold unusual texture. The pages are thin paper bags and the cover is an old envelope. I have coloured the cover with pastels which I have blended together and then coated in mod podge. The effect is like a leather.
This photograph came out very orange, it is on the same carpet as the one below. As the original was quite yellow in colour and not like an old leather, I decided to add some alcohol inks to darken it.
This looks a bit better.
The finished book with wooden beads threaded down the spine.
This is what the pages look like. I think I shall keep this for medieval designs as it is the nearest to velum that I shall ever get.
The second book is made from all the scrapes of handmade paper that I keep. I have loads of odd strips and little pieces that I can't bear to throw away. This has made a nice little booklet and even the tiny pages can be used for small experiments. I have stitched the spine with cotton perle and a sparkly thread.
My third book is a stab stich one made from wallpaper lining paper which I have painted with Koh i noor paints. It has come out a bit brighter than I wanted, I thought I would like something a bit more grey and dark blue but there are still some nice pages in it.
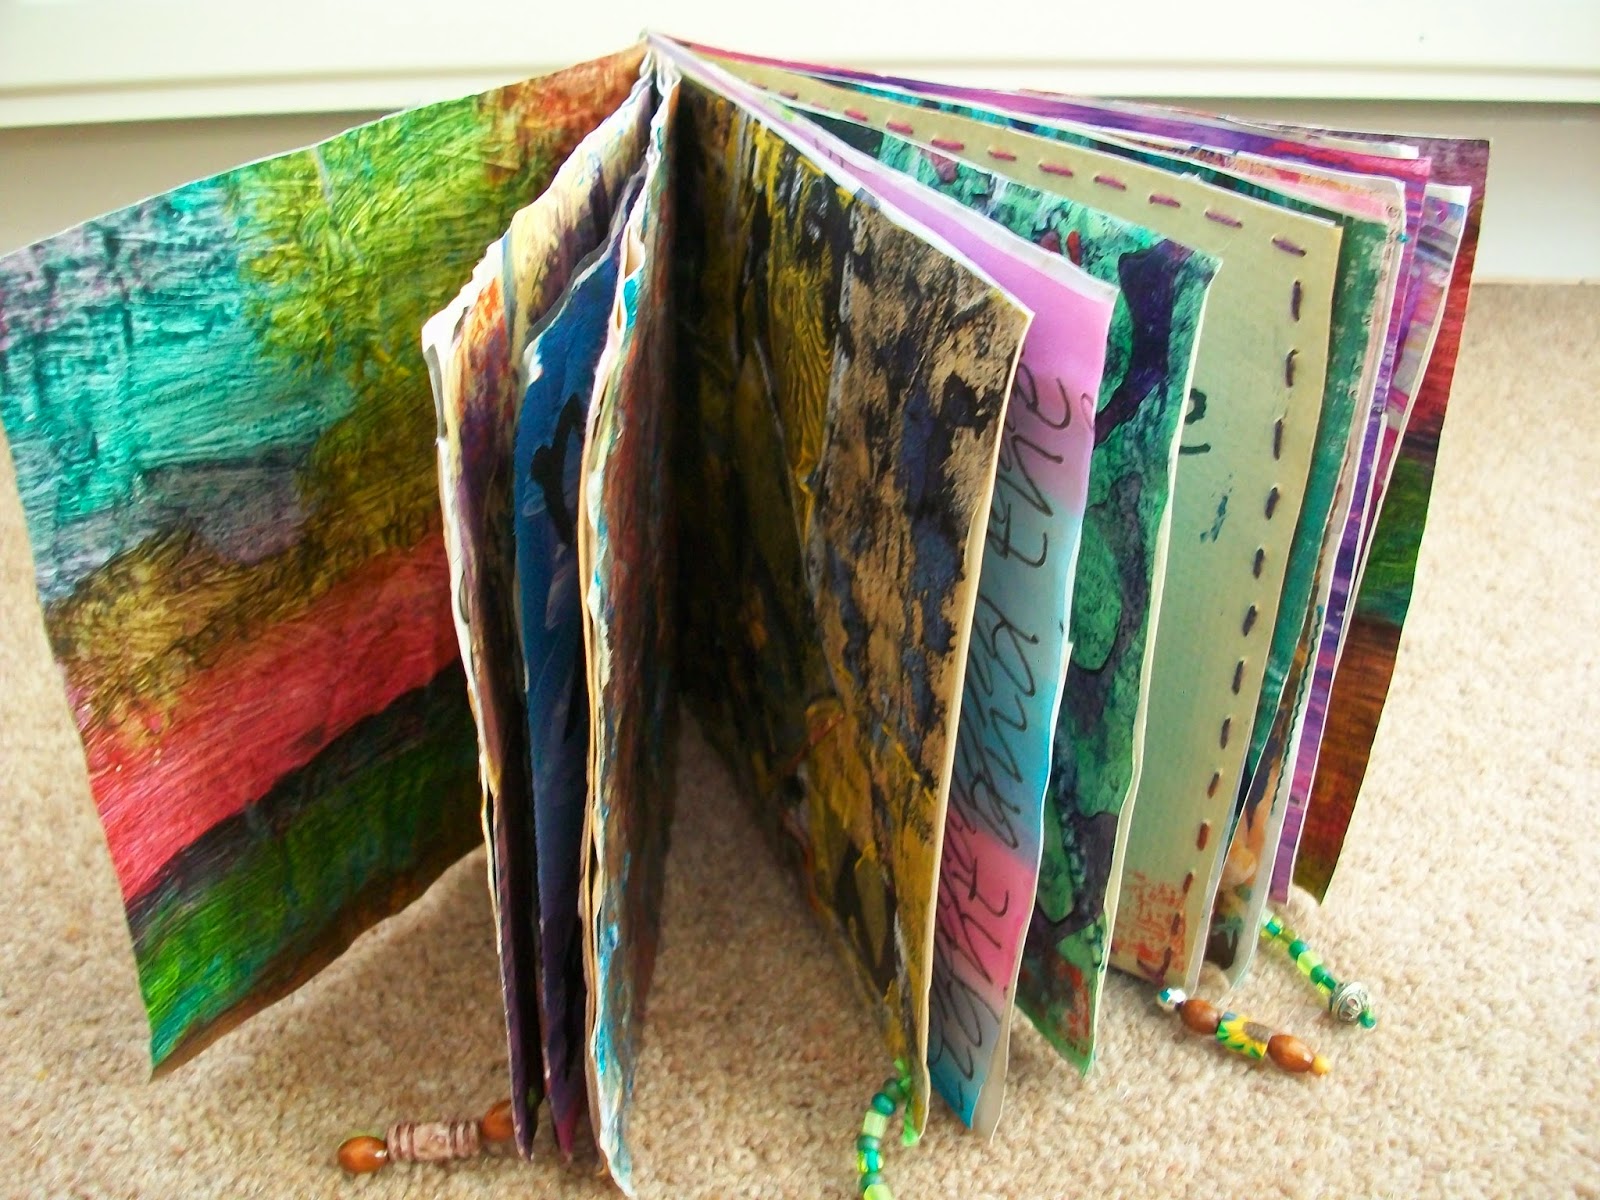
The last project I have used my papers from the rest of the module. I wanted to use them as I think they will be looked at more displayed in a book form rather than just kept in a box. I was a bit nervous about cutting them up, especially my favourite pieces, but they actually look better when they are neatened and fastened together. Firstly the cover. This is one of my recycled pages that I didn't print on. Again I used pastels and mod podge on both sides to make a fairly robust paper. I then printed the word Alphabet onto it in acrylic. The stitching is cotton perle and a sparkly thread but unfortunately this thread broke as I was stitching it so I threaded the ends through a bead and tied them off.
Most of these pages you have seen in previous chapters. It was difficult to get the book to open wide enough for you to see them properly and I thought there was rather a lot to photograph each one. I have taken pictures of new pages I have added. On four of the pages I have put beaded tags on the bottom right hand corners.
This one is a page I painted in module 1 and I have just printed random letters on it.
This page is in the style of Jasper Johns.
I added a zentangle to a page I painted in module 1.
This was in the style of Klimt. I really liked the effect of the gilding flakes (torn up bits of coloured silver paper). I haven't used them before.
This is another view to try and get some of the other pages in.
And last of all, I used up some of the scraps from my pages to decorate the cover of my sketchbook. This looks much more integrated than it does in the photograph. The camera picks up the sharp edges.
I really enjoyed this module. I feel I have got better with each chapter. I liked looking at other artists whose work I hadn't seen before and trying out their ideas. I still feel a bit wooden in my approach to painting papers, I always go for straight lines right to left but a lot of the papers have worked out well.


