I chose to make my book about Forge Valley, a really beautiful area close to where I live. There is a river running through it with a manmade boardwalk along one side, there is a little wooden bridge, a weir where the water runs fast, lots of wildlife and everything left to grow naturally. Unfortunately there is a road running through as well which is used as an access to the roads going north of Scarborough and the traffic is busy and fast. It makes walking along the road a bit dangerous but once you reach the bridge and can cross to the other side you can forget all about the cars and enjoy the nature around you.
I wanted to try and create the atmosphere of the valley, the tranquillity of the woodland and the lovely brightness of the green foliage in early summer. I had put to one side two pieces of paper I had painted some months ago. I think it was some left over paint and I just covered some wallpaper lining paper with it and dropped some cling film over it. The resulting texture on the paint looked to me like a copy of one of my photographs and by adding a few lines in black ink I had created an atmospheric picture of the woods.

Unfortunately I can't get my photographs much better than this but the paper on the left has what appears to be a tree leaning across a river in a similar manor to the one in my photograph. The other piece I think I considered to also be a river but when I turned it on its side, it became trees.


Having decided what I wanted to do on one side of my book I needed to work out how many pages, what size and what I would put on the reverse side. I wanted to add some of the things you might see in the valley without going into masses of flowers and birds. I decided to make the whole thing from wallpaper lining paper as it is strong, takes lots of paint and paste and colours well.
I next made a series of pieces of paper painted in shades of green to represent the valley. Some of them I put cling film over and some I didn't. I chose five pieces in all to make one side of my book.


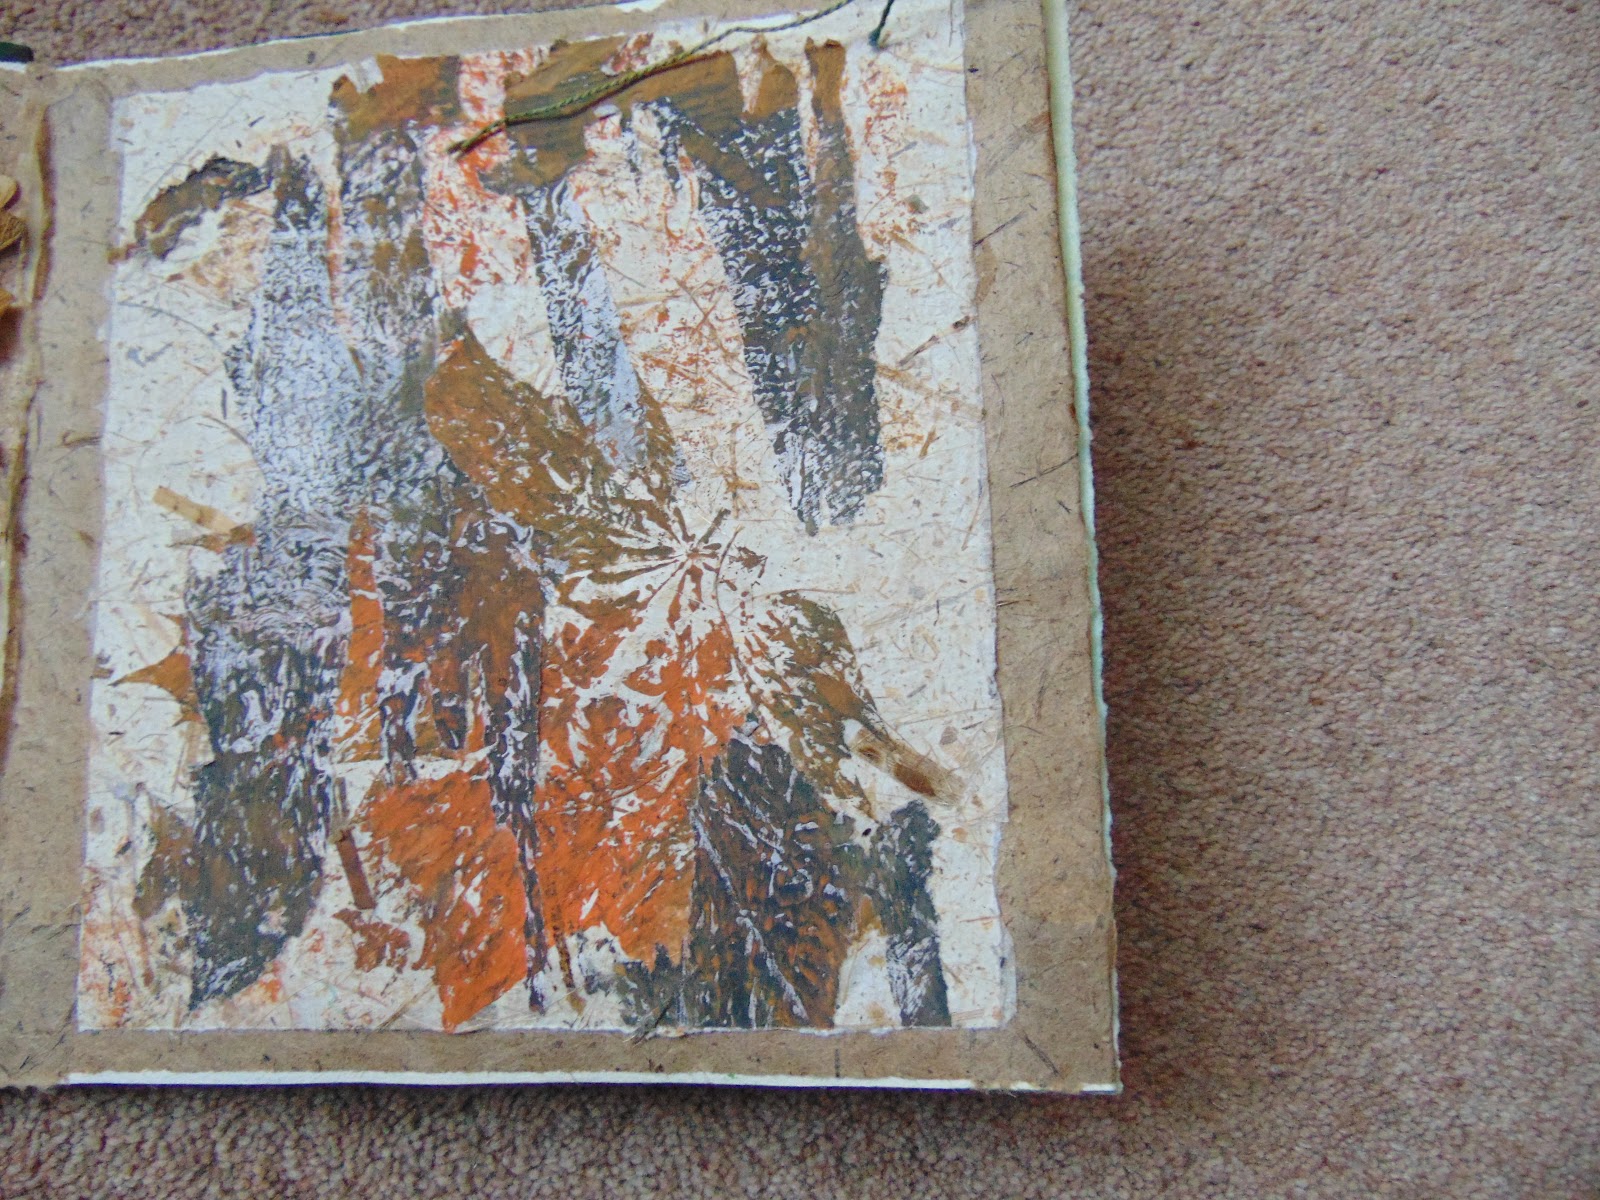
Because the printed paper was a bit small, I had to add a border and I cut some strips of the natural fibre paper and put them round the edges of the centre piece. The finding were first glued to the paper and then stitched round to secure them.
The last two pages were to be about flowers. I wanted this to be a bit more delicate to reflect the subject so I found a nice piece of paper painted in pale colours. Unfortunately it was just a bit short to make a double page so I would have to add something to each side to lengthen it. The centre piece is strips of coloured tissue glued to newspaper background which has then been painted and hopefully represents a bluebell wood. I wanted to put the wild garlic in, so I cut out a small portion of a photograph and stitched it in by adding more white flowers. The marsh marigold makes another appearance, this time in chiffon, machine stitched and then cut out.


I needed to choose which other fabrics, laces etc. to add to the background to complete this set of pages. The brown threads made a reasonable tree bark and led me into being able to use some bark rubbings I had made during a walk in the woods. The only thing I had left to decide about on the inside of the book was some feathers I had collected. I had a heron feather, a mallard, a wood pigeon and a magpie which I wanted to include with the birds but they were too big to attach to the pages so I decided to make a transparent nylon bag which I attach to the book on the fold where the two pages of birds met and this then completed the inside of the book.
The next step was to choose a border to surround each of the pieces of paper I had chosen for the front of the book. I liked the spikey one I had done from the chopped up photocopy but it needed to be darker than black on white.

The border I had printed on the first page was quite nice but I needed something different.

This looked as though it would work. Dark green background with black lines painted on.


I wrote a title in Word in the style and size I needed and printed it part way down the sheet of paper. I then covered that with a piece of painted paper slightly bigger than the text and sellotaped well down. I then ran the paper back through the printer enabling me to get the writing onto the green paper which I then removed and was able to glue to my cover.


This was the point at which I started to assemble everything. It didn't take long to do, waiting for the glue to dry was the long time.
So here are the finished pages. I added a blanket stitch edge to this one and I raised the birds off the page by attaching them to small pads.


Next are the seed pages.


Now the outside.


and this is the front of the book all fastened up.
This has been quite an enjoyable job to do. The way I planned it, not completing any section until I was ready to do a final assembly meant that I never had moments when I thought I had done it wrong. I have long wanted to do some work on Forge Valley and this together with some stitch pieces I did last year have finally resolved that need. It has taken me longer than it should have done to complete the course but I have been able to do it in my own time which has been a bonus. While it is good to work on a project on a daily basis, sometimes life can't afford you that kind of time. I now have a collection of work books that I keep referring back to already and I am sure I shall use them over and over in the coming years.
No comments:
Post a Comment