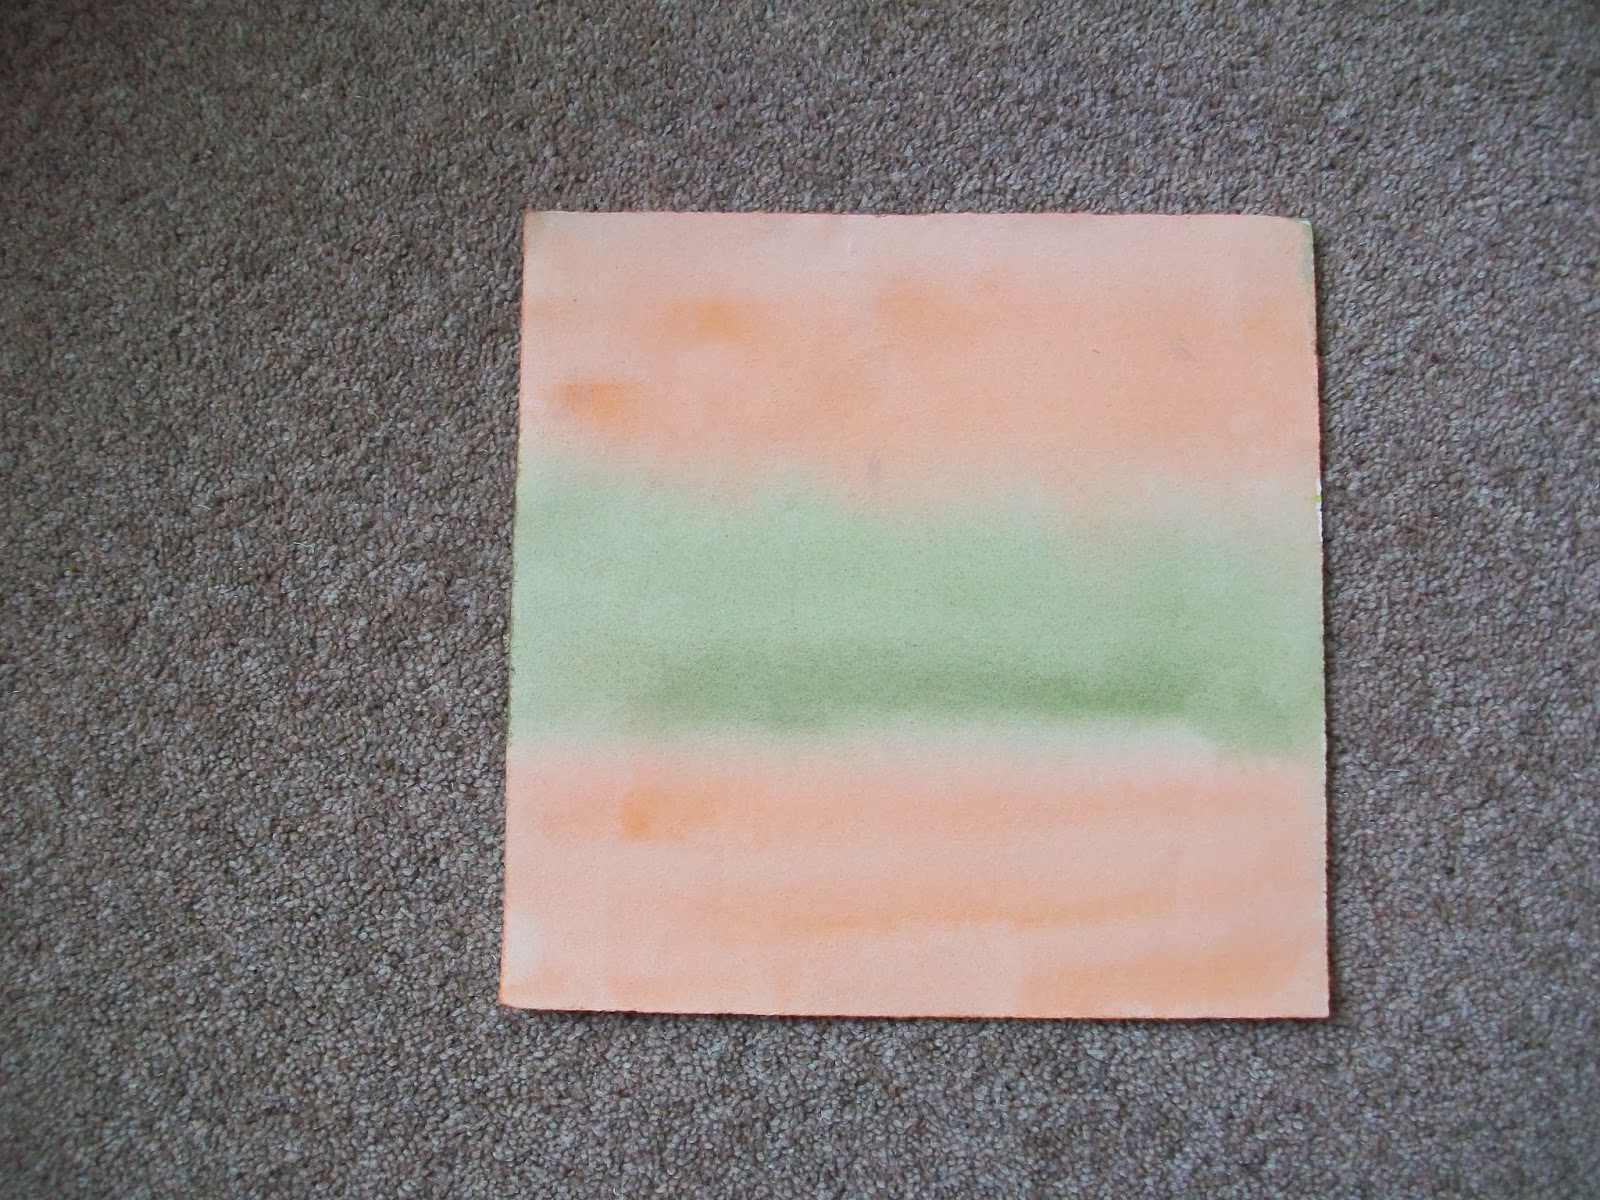
I am starting with some paper I painted earlier. This has been my favourite way of colouring paper since I learnt it with Frances Pickering. I have used a mixture of watercolour and Koh i Noor paints onto very wet paper, colouring both sides. You then stack them higgledy piggeldy on top of each other then wrap them in baking parchment. The results are always lovely and I use the baking parchment two or three times to get a mix of colours. I then paint it with acrylic wax to strengthen it and it can be used as the fly sheet in a hand made book.

These next ones are acrylic paints. The top two are on wallpaper, bottom left brown paper and the right hand piece is a thick tissue paper that was stuffed inside a new bag. A friend told me this technique but it didn't work very well. You fold the paper in half and colour each side. Place a piece of string on one side, fold the paper over, press down then pull the string out. It should leave feathery marks but mine didn't work so well although I can see where the string was laid. The paper was a bit thin and tore in places when I pulled the string through.

These two are Koh i Noor paints on thin brown paper.

This is the old butterfly technique using acrylic paint for the background and ink for the overprint on wallpaper.

This is acrylic inks with cling film over the top until it dried. Done on wallpaper


Here I have rollered acrylic paint onto wallpaper for the larger pieces and hand made paper for the small piece. I just put three blobs of colour into a tray and run the roller over them to mix them. I have probably over worked these so that I covered the paper, I would normally do this on textured hand made paper and just roll over once, leaving any gaps to show through. It's a very effective technique but requires strong paper I think.

This was one of my original pieces using up left over paint. I painted it with mod podge to strengthen it and then used alcohol inks to alter the colours and darken it. I have used some to make a pocket to keep the grey papers in and I will fasten it into my sketchbook when it is finished.

These are the pieces of kitchen towel I used to mop up with as I was painting. They have made some lovely pieces and I have a very good set of finger prints on one of them!

These are the ones I decided to put into my sketchbook. The sponge painting and roller painting with acrylics. The sponge one is purple (ready made), white and a metalic lilac. The roller is white, purple and magenta.

Again, I have used acrylics. The left is just red, yellow and a ready mixed green painted on randomly. The right is acrylic background and ink for the centre.

I have still got the pieces I did from the left over paints so together I feel I have quite a collection now. Looking at what I have done, I feel I have used mainly darker colours and if they have come out pale, then that was by accident. Although thinking about it, where the paper is used wet, then the colour is paler, dry paper makes for more dramatic pieces and if you want pale, then you need to mix it.
No comments:
Post a Comment