Wednesday, 11 October 2017

Module 6 Chapter 7

Mixed Media Layers

I find this interesting to do, something that looks like nothing can easily be changed into something stunning by adding another dimension.  Not that my work is stunning but I have been pleased with some of the pieces I have done.

I started off quite simple.
This is one of my print blocks printed onto a painted background with chunky threads machine stitched on.

Again, a painted background with strips of green tissue paper glued on and then hand stitched into.  The yellow marsh marigolds are actually white fabric flowers I inherited and have painted yellow.


This is a sampler piece.  I own several mediums that I use from time to time and I just wanted to see if I could use any of them in this exercise.  On the left are some cut out flowers printed with music and glued to the background with crackle glaze brushed over.  In the middle is expandaprint which makes a good bark finish when painted and at the right is a painting medium with pumic in it which gives a rough sand effect. I didn't use any in this chapter but I might in my final book.


I'm not very keen on using photographs in textile work, I think they look a bit too perfect and precise but I had a go here and I'm quite pleased with the outcome.  The background is acrylic on wallpaper, the pieces glued on are lutradur which has been painted and some have moulding paste stencils on them.  at the bottom is a strip of dyed scrim and some machine embroidery to hold it and bring the piece together.  


I started this piece with the idea of going across the paper rather than up and down it.  Firstly, nature doesn't really go side to side, it grows up and secondly, I didn't like my choice of papers.  The wallpaper was too heavy beside the cellophane and lokta paper.  So I changed it round and worked top to bottom.

I decided to have another go at adding a picture so I had this lovely one of trees in a forest and I was pleased with the way it covered most of the paper I didn't like but left some bits showing.  I have added leaves from my print block which I have cut out and pasted on and then I have done machine embroidery down each side to bring it all together.


I don't think I can have hand stitched Khadi paper before otherwise I wouldn't have done it here.  It is so difficult to get a needle through, I would have done more on these pieces but my fingers were too sore.  This is fabrics and lace hand stitched to khadi paper with dried leaves glued on.   I have kept the colours neutral with just a bit of added colour in the blue/grey fabric and some of the stitching.  I quite like these two, I think they would have been better on a fabric background that I could have stitched into further.  Even the slightly thinner paper with the embedded petals was not any easier to stitch.
Another enjoyable chapter.  It has given me faith in adding photographs and pictures to work of this type.  


Thursday, 28 September 2017

Module 6 Chapter 6

Print making with foam sheets.

This is my favourite way of making prints.  I like the 'Funky Foam', it is easy to draw on and to cut and I mount it onto card mounts by covering one side of the card with double sided selotape, attach the foam shape to it then sprinkle talc over it to take the sticky off the card background.  These can then be cleaned under the tap if you are careful not to get the back of the card too wet, the selotape acts as a plastic cover on the front.

I started printing in my sketchbook to see how they worked.  I made three print blocks using a three leaf pattern and then two of the partial designs from chapter five.  I also did three blocks from the designs in chapter five using the tree patterns I had made.  This gave me three curved flowing designs and three angular ones.


The top one is a leaf and a tree print and the bottom one is two leaf prints.  All my printing was done with acrylic paint.


The top one is three tree prints in three different colours on lokta paper.  The bottom one is one leaf print on the inside of an envelope.  I have started with one colour and added others without washing the block so that they have blended together.  This photograph is much lighter than the original./


The top one is two tree prints in a single colour on a pre-painted hand made paper that I found in my box.  The lower one is a single leaf print in pale green on a dark green tissue paper.  Not very successful. 


The top one is one leaf print and one tree print on a pre painted piece of wallpaper lining paper.  I like this paper for painting on, it takes colour well and is fairly robust.  I think this print turned out quite well.  The bottom one is one leaf and one tree design printed on tissue paper.  Further designs could be made from this one.


The top one is one leaf and one tree print in metallic colours on a background of copier paper and transfer paint.  The lower one is two tree prints on a paper bag paper.


The top one is a single tree print which has been overprinted and turned upside down all printed in a single colour on a piece of pre painted copier paper.  I really like this one even though it is heavily printed and the actual block is difficult to pick out.  The lower print is a single leaf block in one colour on a page from an old book.  I have done up to three prints from one loading of the block to get the fading effect.


  These last two are in my sketchbook using up left over paint.  The top one is one leaf and one tree print and the bottom one is one leaf and two tree prints.

I did all this printing in one mornings session.  I couldn't do more as I hadn't any more drying room.  I had chosen the papers the day before and it is surprising how long it takes to do the printing even when you have got ready in advance.  I do enjoy doing it as I don't normally do as much when I am designing a piece of work. I really need to get better at that.


Thursday, 27 July 2017

Module 6 Chapter 5

Repeat Patterns.

I started this chapter by doing a few drawings of the most obvious pattern in my photographs and that was the wooden bridge.


I then looked at one of my drawings of wild garlic to see if I could get a pattern from there.


I took a section off using part of the flower and part of the adjoining leaf.

Shortly after doing these I went for a walk in the valley and took some more photographs of it in summer finery.  This then gave me a new set of ideas to work with.


This is the boardwalk that runs all down one side of the river.  It is made of wood with non-slip strips attached to it.  I drew the design on a sheet of A4 paper, cut it out and then cut it into various sized strips.  I glued these into my sketchbook in a random order then isolated one section as a pattern.


This section was photocopied several times to give me enough pieces to do the repeat pattern.  I did two versions, one of which I coloured with watercolour pencils.


This design is from the trees in the valley with their reflections in the water creating a triangular pattern.  I then decided to make it look more organic and did the one below.  I photocopied the first piece and cut it up and reorganised the pieces to make the lower pattern which could then be repeated.

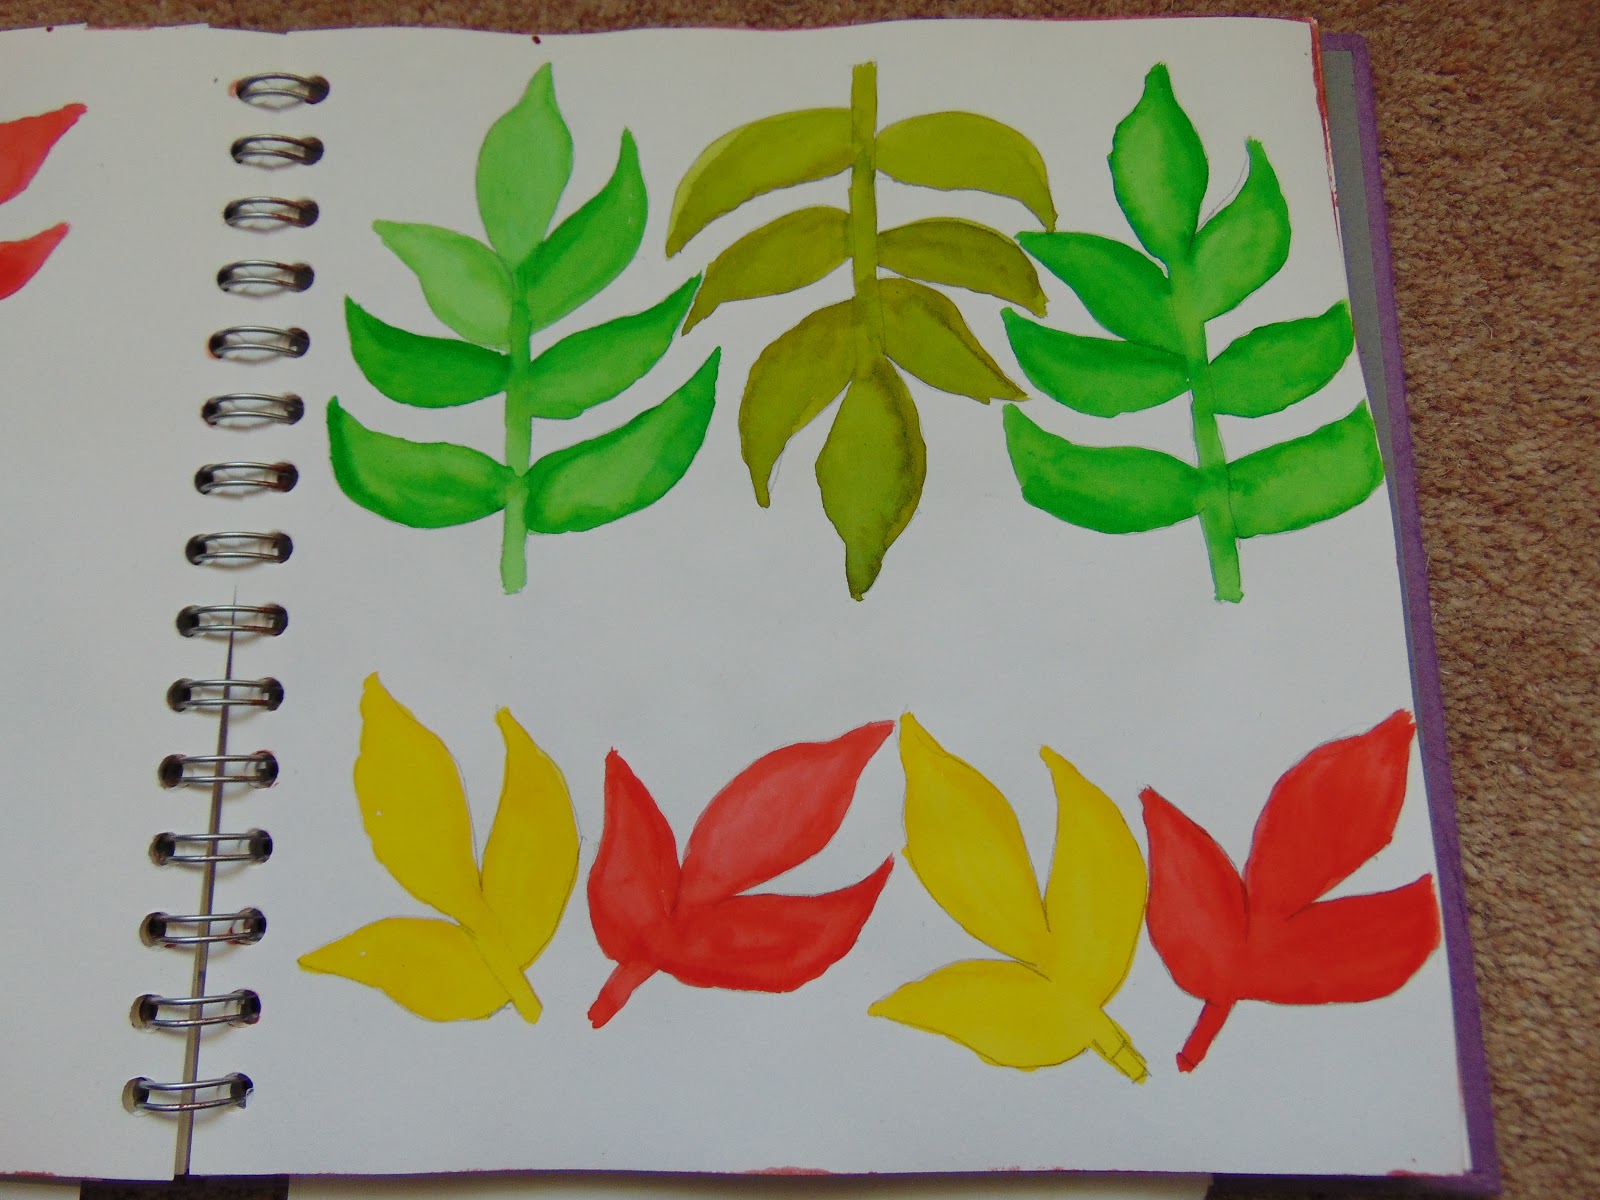
After this I looked through my new photographs and found this one which had a 'spray' leaf shape.


This made some nice simple repeat designs.


I then took the shape and cut lots of paper leaves out and placed them on the paper as if they were a clump in the woods.  I painted the backgrounds brown to represent the soil.

I then decided to cut the same shape in autumn colours to look like the dead leaves but when they are placed in this way, they look a lot more like a fire.

I then used the leaf and the boardwalk designs within a grid and although I tried to place the shapes randomly, I still managed to get some repeats quite close to each other.


I photocopied my paper piece and marked up some areas that I thought might make interesting designs.

I drew a simplified version of the box on the left and coloured it in.

 I then traced off a copy of it into my sketchbook and then I traced it onto clear plastic..

This is two versions of the two copies.

This is three copies.


This is five copies

This is seven copies.

An interesting chapter this.  I enjoyed looking for the patterns and drawing and printing them.  The boardwalk designs shows that a very simple beginning can develop into a very complex design.


Thursday, 13 July 2017

Module 6 Chapter 4

Taking a closer look

This chapter was about looking closely at a drawing and selecting areas to study further.  I started off by making small drawings of some of the photographs I had taken.  I hope you can see these pencil marks.

The first one is the river with the trees alongside.

This second one is the wild garlic.  It's difficult to get the flowers right but I think this will work better with a stamp.  I shall try that in a later chapter.

The third one is marsh marigolds which grow along the river bank.

From here I did two more drawings from a section of the ones above.


I then photocopied these and coloured them using acrylics, watercolours and gouache. 


My river is a bit too dark but I liked the effect I go on these backgrounds/

Feeling a bit adventurous I then did a painting of the river and trees which I did without any drawing, painting straight onto the paper.


I have been painting papers with my final book in mind and have some lovely pieces that would make a background for this part of the river.  
Although I have chosen a topic that doesn't easily offer design shapes because the foliage is dense and there is very little but foliage, I am glad I chose this as my topic for my book.  I think it will come together in the end.  I have been out photographing the area with it's summer plumage on and it is very much richer than it was in spring.


Monday, 26 June 2017

Module 6 Chapter 3

Pen and Ink Drawing.

I have taken a few photographs in Forge Valley and am about due to go and take some more showing the change in the scenery for summer.  These drawings are based on what I took earlier in the spring.  I find drawing a bit daunting but actually using a felt drawing pen seems slightly easier than using a pencil.  My efforts are still not very good though.


These are my trials using different pens.  I hope you can see it, the original photograph was very dark and I have brightened it but it looks a bit too pale here compared to in my file.  I have used dip pen and ink, biro and various sized drawing pens.

Choosing from my photographs was quite difficult.  I have accidentally done chapter 4 before chapter 3 and so I have used certain of my photographs there so I didn't want to use the same ones in chapter 3.  That might have worked out differently if I had done them in the correct order.  I have chosen one that I have repeated and two new ones for these drawing.


I love this part of the river.  I am walking along the boardwalk and this is in shadow just before you come out into the sunshine.  I don't think my finished book is going to depend on my drawing techniques, I am planning ideas for a different paper and paint approach.


This is a beautiful tree.  It has a rope attached to one branch and has been a swing for many generations.  In fact, a pit has been worked in for children to swing across.  I can manage this type of drawing better as it is more of a feeling than careful lines.


I loved this plant although I have no idea what it is.  When I saw the photograph I put it aside as being too difficult to replicate.  However, I decided that I could maybe give it a go with the pens and I am reasonably pleased with the result.  It does look a bit like the flower.  It might still be a bit difficult to take through to my final piece but I won't dismiss it altogether.

Not such a good chapter for me.  Photographs like the tree trunk I would go straight into working it out in stitch and fabric, maybe doing several samples using different threads and fabric, the others I would probably leave alone.  Sometimes I come back to things a couple of years later because I can incorporate it with something else but I rarely sit and try to draw from a photograph.  The next few chapters are more in my line.